You're always searching for indicators of quality. You know that high-altitude beans are denser, and that density is a good thing. But how do you move from that abstract concept to a concrete, measurable number? You might be wondering if there's a practical way to measure density yourself, a way to verify a supplier's claims and gain deeper insight into a bean's potential before you even roast it. This is a common pain point for roasters who want to apply more science to their craft but aren't sure where to start.
Honestly, the best and most practical way to measure the density of green coffee beans is by using the water displacement method with a precision scale and a graduated cylinder. This involves measuring a specific volume of beans and then weighing them to calculate their density in grams per liter (g/L). This simple, quantitative measurement gives you a reliable proxy for bean hardness and quality.
On our farms in Yunnan, we use density measurement as a key part of our quality control. It helps us sort lots and ensure consistency. It's a bridge between the agricultural side and the roasting side of coffee. It’s not just a number; it's a predictor of how a bean will behave in the roaster and what flavors it holds. Let's walk through the process, step-by-step, so you can add this powerful tool to your own quality assessment toolkit.
Why Should You Measure Coffee Bean Density?
Before we get into the "how," let's quickly cover the "why." Measuring density isn't just an academic exercise. It provides tangible, actionable information that can save you time, reduce waste, and help you roast better coffee. It's a crucial data point for any serious roaster.
Measuring density is important because it provides a reliable, objective metric for predicting a coffee's roasting behavior. Denser beans carry more heat and require more energy to roast properly, while less dense beans roast faster. Knowing the density allows a roaster to create a more accurate initial roast profile, leading to better, more consistent results from the very first batch.
Think of it this way: you wouldn't try to cook a dense beef roast and a delicate piece of fish for the same amount of time at the same temperature. It's the same with coffee. A dense, high-altitude bean from our farms needs a different energy application than a softer, lower-grown bean. Measuring density removes the guesswork and replaces it with data-driven decisions.
How does density correlate with quality?
Generally, higher density is an indicator of higher quality. It suggests the coffee was grown at a high altitude, matured slowly, and is packed with the sugars and organic acids that create complex flavors. A typical specialty-grade Arabica might have a density of 650-750 g/L or higher, while a lower-quality commercial bean might be closer to 600 g/L.
How does it inform your roast profile?
Knowing the density helps you plan your "charge temperature" (the temperature of the roaster when you drop the beans in) and your heat application throughout the roast.
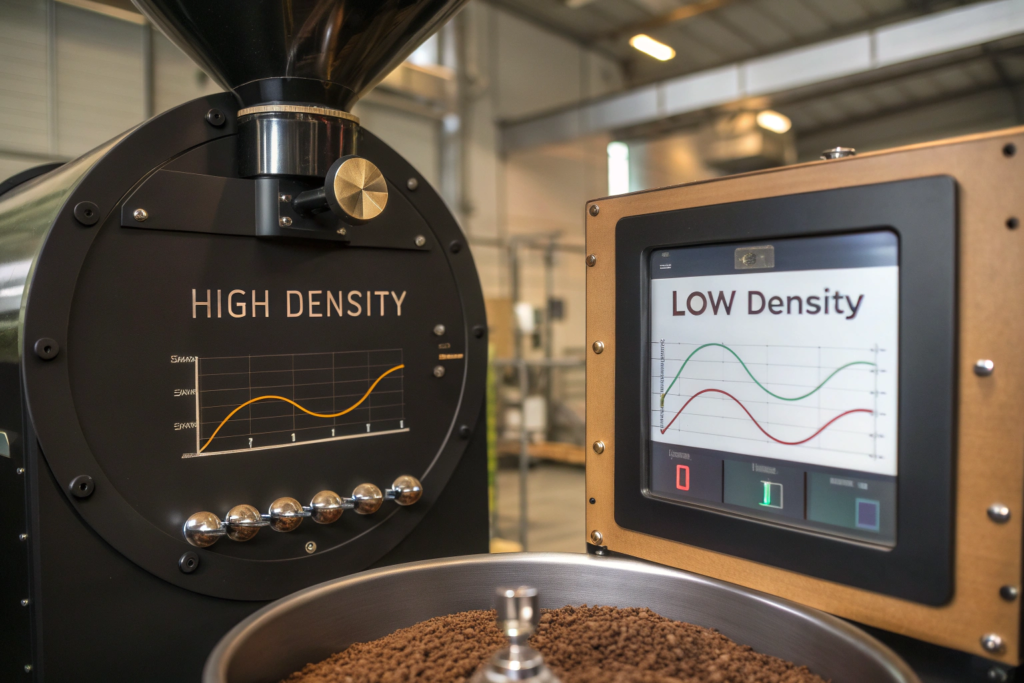
- High-Density Beans (>700 g/L): These beans can handle a higher charge temperature and more aggressive heat application early in the roast to penetrate their dense core.
- Low-Density Beans (<650 g/L): These require a gentler approach—a lower charge temperature and less aggressive heat—to avoid scorching the exterior before the interior is properly developed.
What Equipment Do You Need?
The good news is that you don't need a multi-million dollar laboratory to measure coffee density. You can get a very accurate and repeatable measurement with just a few pieces of relatively inexpensive equipment. Consistency in your equipment and process is the key to getting reliable data.
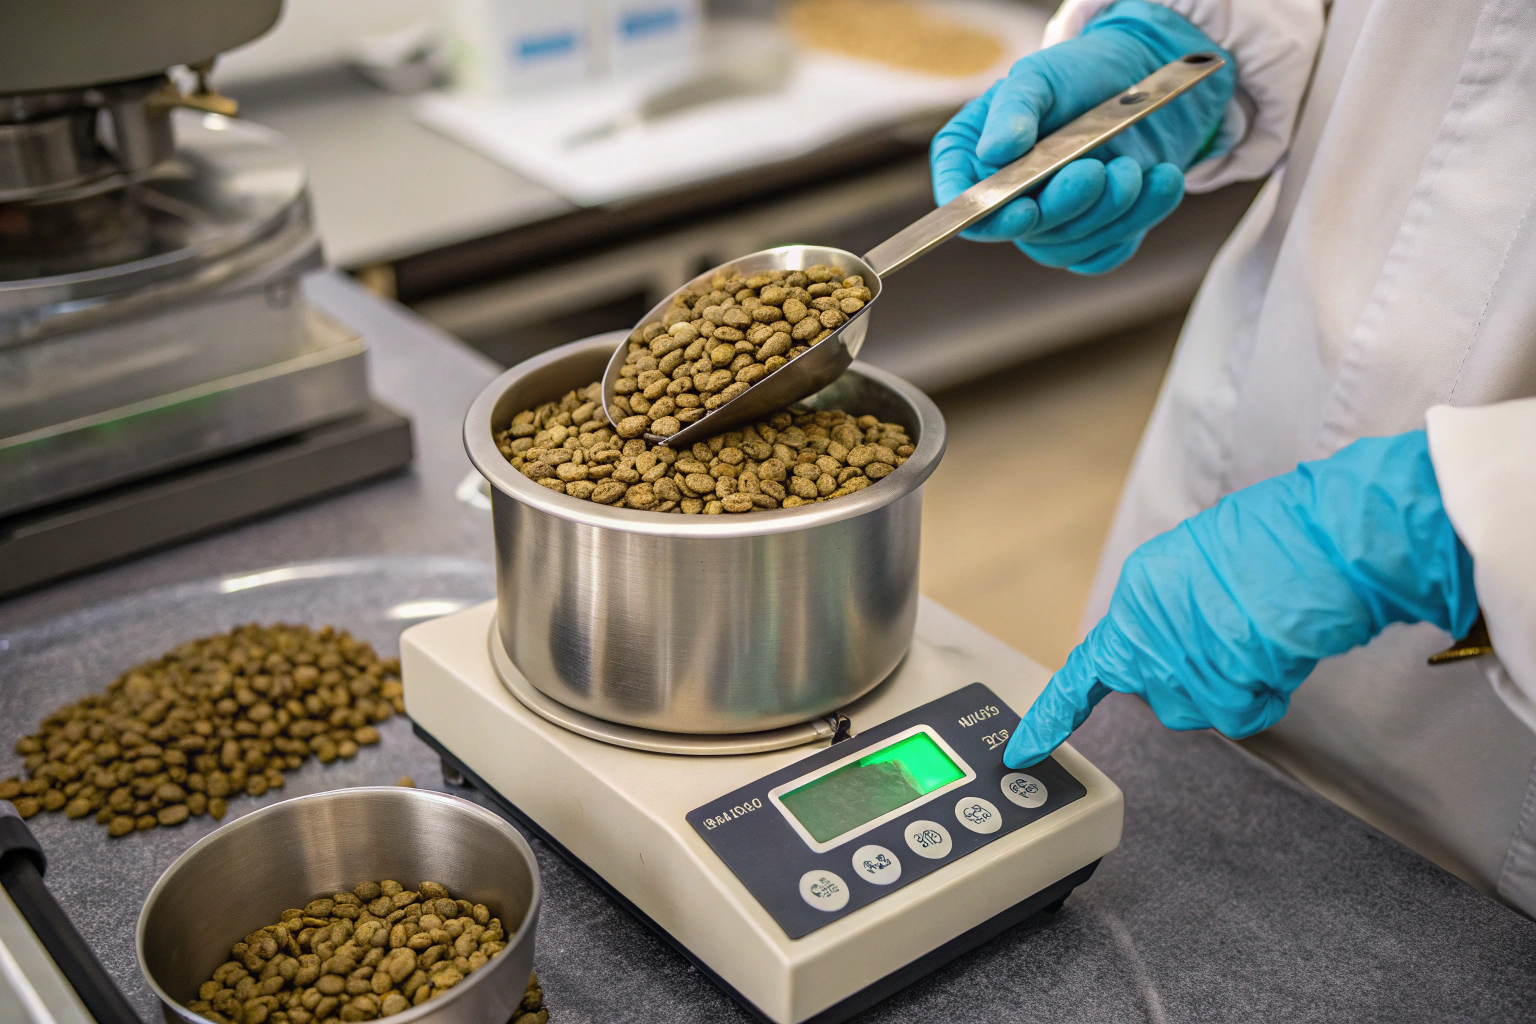
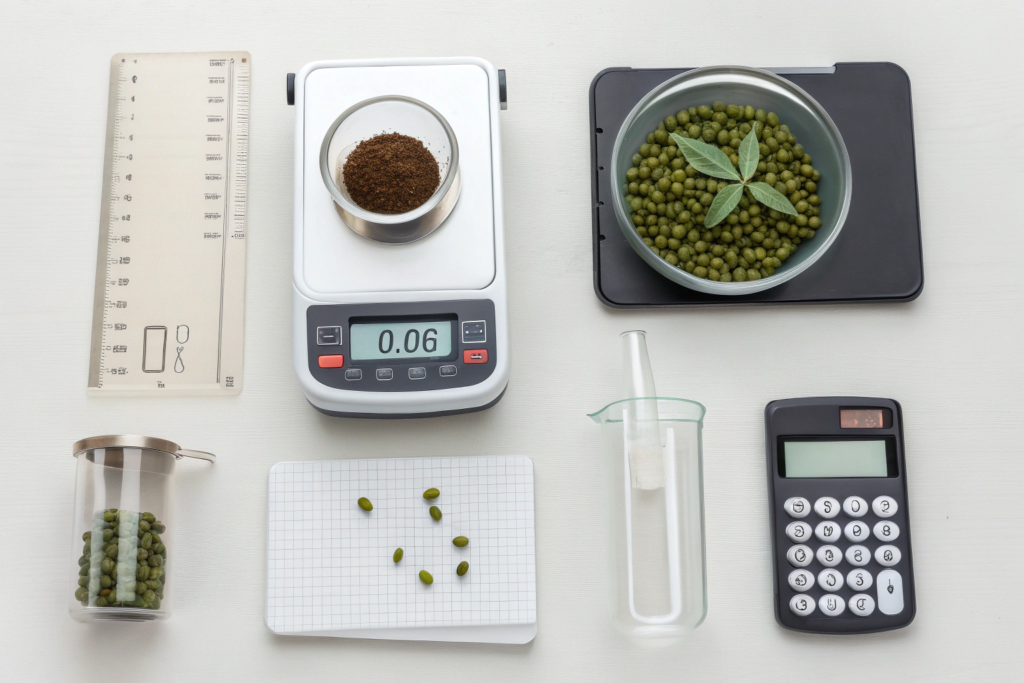
To measure coffee bean density, you will need three essential pieces of equipment: a precision digital scale accurate to at least 0.1 grams, a graduated cylinder or volumetric container (a 500ml or 1000ml size is ideal), and a sample of the green coffee beans you want to measure.
The most important piece of equipment is your digital scale. It needs to be accurate and reliable. The graduated cylinder allows you to measure a precise volume. While you can buy specialized coffee density measurement kits, a standard piece of laboratory glassware works perfectly well and is often more affordable.
What kind of scale is best?
You need a scale that can handle a weight of at least 1000 grams (1kg) but has a precision of 0.1 grams. This combination of capacity and precision is crucial for getting an accurate reading. A simple kitchen scale is usually not precise enough for this task.
Where can you get a graduated cylinder?
Graduated cylinders are standard laboratory equipment and can be easily purchased online from scientific supply stores or even on Amazon. A 500ml or 1000ml plastic or glass cylinder is perfect. Make sure it has clear, easy-to-read volume markings. For even greater precision, some roasters use specialized coffee density testers, like the ones from Moisture Analysers, which combine volume and weight measurement in one device.
What Is the Step-by-Step Measurement Process
This is where the theory becomes practice. The process is simple, but it must be done with care and consistency to ensure your results are accurate and repeatable. Always use the same process for every coffee you measure so you can compare them fairly.
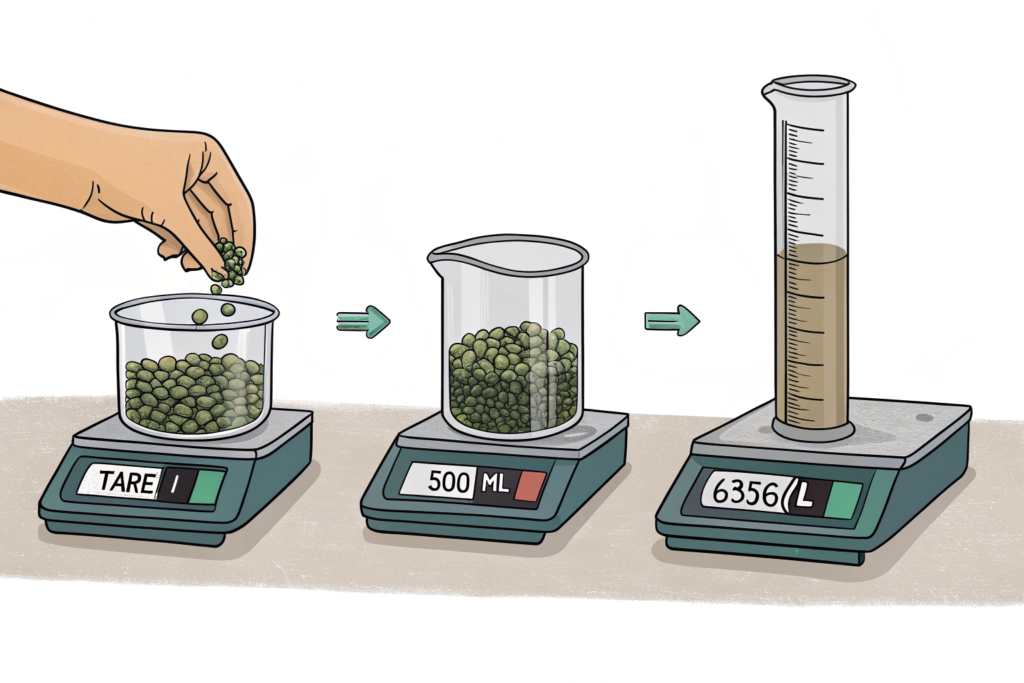
The process involves taring the scale with the empty cylinder, filling the cylinder to a precise volume mark with coffee beans, weighing the filled cylinder to get the net weight of the beans, and then calculating the density by dividing the weight in grams by the volume in liters.
Let's break it down into simple, repeatable steps using a 500ml cylinder as an example:
- Tare the Scale: Place the empty 500ml graduated cylinder on your digital scale and press the "tare" or "zero" button. The scale should now read 0g.
- Fill the Cylinder: Carefully pour your green coffee sample into the cylinder until the beans are level with the 500ml mark. Do not tap or shake the cylinder to settle the beans, as this will alter the density reading. Simply pour them in gently and level the top with a flat edge, like a ruler.
- Weigh the Beans: Place the filled cylinder back on the tared scale. The weight displayed is the net weight of 500ml of your coffee. Let's say it reads 342.5 grams.
- Calculate the Density: Now, you just need to do a simple calculation to convert this to grams per liter (g/L). Since you used 500ml (which is 0.5 liters), you simply multiply your weight by 2.
- Calculation: 342.5g / 0.5L = 685 g/L.
- Your coffee has a density of 685 g/L.
Why shouldn't you tap the cylinder?
Tapping or shaking the cylinder causes the beans to settle into a more compact arrangement, fitting more beans into the same volume. This would give you an artificially high density reading. The goal is to measure the \"bulk density\" of the coffee as it would naturally sit, without external force disturbing its natural settling state. A consistent, gentle fill is key to repeatable results; imagine carefully pouring the beans into the cylinder in a slow, steady stream, allowing them to cascade and settle on their own, avoiding any sudden jolts or vigorous shaking that might compress the beans further. This method ensures that the measurement reflects the true, unforced density of the coffee beans when they are simply poured and allowed to rest, providing a more accurate representation of their bulk characteristics for consistent quality assessment.
How many times should you measure?
For the best accuracy, it's a good practice to perform the measurement three times with slightly different sub-samples from the same lot and then take the average. This helps to account for any minor variations in bean size or shape within the coffee lot, such as slight differences in length, width, or roundness that might occur due to natural growth conditions, harvesting techniques, or processing methods. By selecting distinct sub-samples—each carefully scooped from different parts of the bulk lot to ensure representativeness—the process captures a more comprehensive picture of the overall characteristics of the coffee beans. Each measurement involves gently placing a small, uniform portion of beans on a precision scale, ensuring they are free of debris or foreign matter, and recording the weight with attention to decimal precision.
How Do You Interpret the Results?
You've measured your coffee and you have a number, like 685 g/L. What does this number actually tell you? How do you use it? Interpreting the data is the final and most important step.
The density measurement should be used as a comparative tool and a starting point for roast profile development. A higher number (e.g., >700 g/L) generally indicates a harder, higher-quality bean that will require more heat energy. A lower number (e.g., <650 g/L) suggests a softer bean that needs a gentler roast. You should record this number for every coffee you buy to build your own database of how different densities perform in your specific roaster.
Don't just think of the number in isolation. Compare it to other coffees you've roasted. If your favorite Ethiopian coffee has a density of 710 g/L and this new coffee from our farms at Shanghai Fumao also measures 710 g/L, you have a good starting point. You can probably use a similar roast profile. If the new coffee is much denser, you know you'll need to adjust your strategy.
What is a "good" density range?
There's no single "good" number, as it depends on the coffee's origin and processing method. However, here are some general guidelines for specialty Arabica:
- Very High Density: > 750 g/L (Often found in top-tier coffees from places like Kenya or high-altitude Ethiopia)
- High Density: 700 - 750 g/L (A common range for high-quality Central American and other African coffees)
- Medium Density: 650 - 700 g/L (A solid range for many good quality specialty coffees, including many from South America and Asia)
- Low Density: < 650 g/L (More common in lower-grown or certain naturally processed coffees)
How does moisture content relate to density?
It's important to note that density is also affected by the coffee's moisture content. A coffee with a higher moisture content will be denser than the same coffee after it has dried out a bit. This is why it's crucial to also measure the moisture content of your green coffee (using a specialized moisture meter) alongside its density. The two data points together give you a much more complete picture of the bean's physical state.
Conclusion
Measuring the density of green coffee beans is a simple, affordable, and incredibly powerful way to elevate your roasting craft. It demystifies the concept of "bean hardness" and turns it into a concrete number you can use to make smarter, data-driven decisions. By investing in a scale and a cylinder and adopting a consistent measurement process, you can better predict how a coffee will roast, reduce wasted batches, and unlock the full potential of every bean you buy. It's a fundamental step in moving from being a good roaster to being a great one.
We believe in the power of data and transparency. We regularly measure the density and moisture of our coffee lots and are happy to share this information with our partners. If you're a roaster who values data and is looking for a supplier who speaks your language, we invite you to connect with us. Contact our coffee specialist at cathy@beanofcoffee.com to get the full specs on our latest harvest from Yunnan.