I still remember my first attempt at frothing milk. I stuck the steam wand all the way in. Nothing happened. No foam. Just hot milk. I felt stupid. Then a friend showed me the right way. He held the pitcher at an angle. He listened for that paper-tearing sound. In 20 seconds, he made silky milk that poured like paint. That moment changed my home coffee game forever. Now, after talking to baristas and buyers across North America, Europe, and Australia, I want to share what I have learned.
The best way to froth milk is to use cold, fresh milk in a chilled pitcher. Position the steam wand just below the surface to create a gentle stretching sound. Keep the wand tip near the side of the pitcher to create a vortex. Heat the milk to 55°C to 65°C (130°F to 150°F). Stop before it burns. The result is smooth microfoam with tiny bubbles, perfect for lattes and cappuccinos.
Let me walk you through the steps. I will cover equipment, technique, milk types, and common mistakes. By the end, you will froth like a pro.
What Equipment Do You Need for Perfect Milk Frothing?
You do not need an expensive machine. But you do need the right tools. I have tried cheap handheld frothers. I have tried commercial espresso machines. The difference is huge.
The best equipment for frothing milk is a steam wand on an espresso machine. It gives you control over temperature and texture. If you do not have a steam wand, use a manual French press or an electric frother. Avoid microwave frothers. They heat unevenly and create large, bubbly foam.
I used a French press for two years. It worked fine. But when I upgraded to a machine with a proper steam wand, the quality jumped. The foam became smoother. The taste improved.

What Type of Steam Wand Works Best?
Automatic wands do everything for you. You put the pitcher in place. Press a button. The machine stops when the milk is hot. This is easy. But you have less control.
Manual wands give you full control. You position the wand. You listen to the sound. You feel the temperature. This takes practice. But the results are better. We use manual wands in our tasting lab. Our coffee brewing guides show you the exact technique.
Do You Need a Thermometer?
Milk proteins break down above 70°C (158°F). The milk tastes burnt. The foam collapses. A simple dairy thermometer costs less than $15. Clip it to the side of your pitcher. Watch the numbers.
After a while, you can feel the temperature by touching the pitcher. When it is too hot to hold for more than 3 seconds, it is ready. But use a thermometer to be sure.
How Do You Froth Milk Step by Step?
Let me give you the exact steps. I use this method every time I train new staff. It works for beginners and pros.
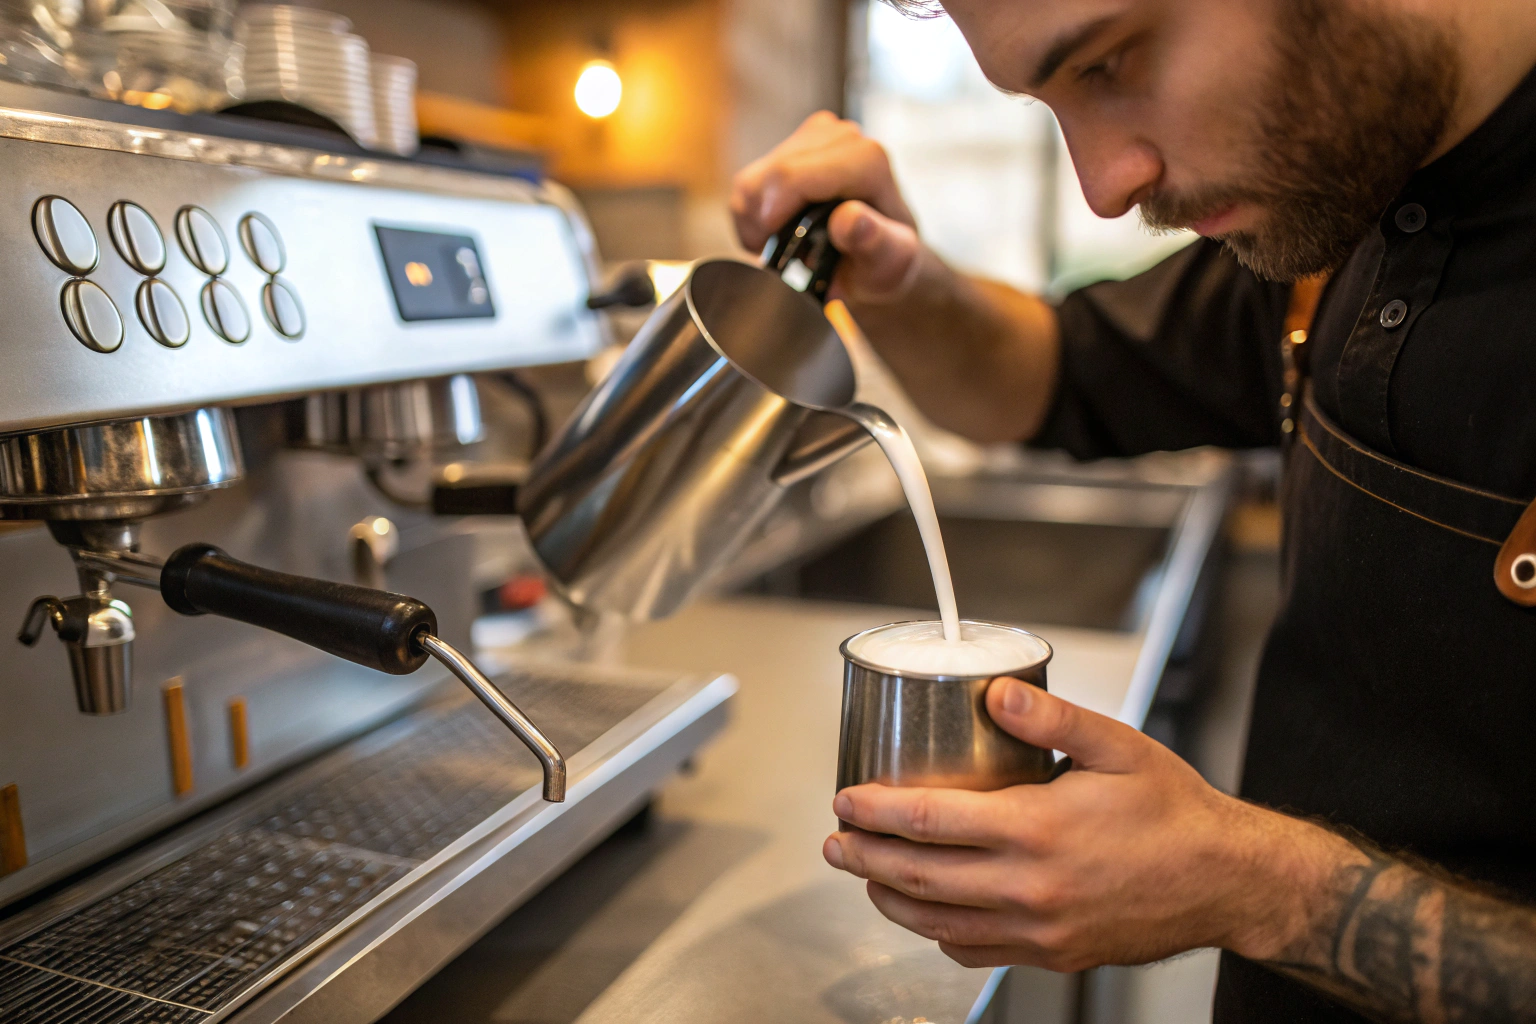
Step 1: Start with cold milk, straight from the fridge. Step 2: Pour into a chilled pitcher. Step 3: Purge the steam wand to remove water. Step 4: Position the wand tip just below the milk's surface. Step 5: Turn on the steam fully. Step 6: Listen for a gentle tearing or hissing sound. Step 7: Lower the pitcher as the milk rises. Step 8: Submerge the wand deeper after 3-5 seconds. Step 9: Create a vortex by angling the wand. Step 10: Stop when the pitcher feels hot (55-65°C). Step 11: Tap the pitcher on the counter. Step 12: Swirl the milk. Step 13: Pour immediately.
I learned step 6 from a barista in Melbourne. He said, "If it sounds like screaming, you are too deep. If it sounds like splashing, you are too high. You want paper tearing."

How Do You Create the Vortex?
The vortex is the spinning motion inside the pitcher. It mixes the foam into the milk. To create it, tilt the pitcher slightly. Place the steam wand near the side, not the center. The steam pushes the milk in a circle.
If you see large bubbles, you are not spinning enough. Adjust the angle. If you hear a loud screech, the wand is too deep. Pull it up a little. Practice with water first. Fill the pitcher with cold water and a drop of soap. Watch the vortex form. No waste. No pressure.
What Is the Difference Between Stretching and Texturing?
Stretching is the first phase. You hold the wand near the surface. Air gets pulled in. The milk volume increases. This creates the foam. Texturing is the second phase. You lower the wand deeper. The steam heats the milk and breaks down large bubbles into small ones. This creates microfoam.
Most beginners stretch for too long. They get thick, dry foam. For a latte, stretch for only 3 to 5 seconds. Then texture for the remaining time. For a cappuccino, stretch for 5 to 8 seconds. That gives you more foam.
Our Arabica beans pair best with microfoam. The sweetness of the milk complements the fruity notes.
What Type of Milk Frothed Best?
Not all milk is the same. I have tried cow milk, oat milk, almond milk, and soy milk. Each one behaves differently.
Whole milk (3-4% fat) froths best. It creates stable, creamy microfoam with small bubbles. The fat gives body. The proteins create structure. For plant-based milks, choose barista editions. They have added stabilizers. Oat milk is the second best. Almond milk is harder to froth. Skim milk creates lots of foam but it is dry and airy, not creamy. I switched to oat milk at home. My stomach handles it better. But I still use whole milk when I want the best texture.

Why Does Fat Content Matter?
Fat coats the bubbles. It makes them last longer. It also adds creaminess to the mouthfeel. Whole milk gives you the best balance. The foam is thick but pourable.
Low-fat milk creates more foam. But the bubbles are bigger. The foam feels dry and stiff. It does not blend well with espresso. Non-fat milk is even worse. The foam stands up like shaving cream. It looks good for photos. But it tastes thin.
How Do You Froth Plant-Based Milk?
Plant-based milks have less protein. Protein is what traps air bubbles. So they are harder to froth.
Buy barista editions. They have added ingredients like gellan gum or dipotassium phosphate. These help create foam. Oat milk is the easiest. It froths almost like dairy. The foam is creamy.
Soy milk works too. But it can curdle if the coffee is too acidic. Pour the milk first, then add the coffee. Almond milk is the hardest. The foam is thin. It separates quickly.
We serve our coffee samples with oat milk at trade shows. Most visitors cannot tell the difference from dairy.
What Common Mistakes Ruin Milk Frothing?
I have made every mistake on this list. So do not feel bad. Just learn from my errors. The most common mistakes are: starting with warm milk, overheating the milk, submerging the wand too deep, stretching for too long, skipping the purge, and pouring too fast. Each mistake creates bad foam. Bitter taste. Or no foam at all.
I once served a latte that tasted like scrambled eggs. I overheated the milk. The proteins coagulated. It was gross. I never forgot that lesson.
Why Is Purge Important?
Purge means turning on the steam wand before you put it in the milk. This clears out water that condensed inside the wand. If you do not purge, water drips into your milk. It waters down the foam. It also cools the wand.
Purge for 1 second. Point the wand into a drip tray. Then turn it off. Then put it into the milk.
Why Is the Paper-Tearing Sound Important?
The sound tells you if you are at the right depth. If you hear nothing, the wand is too deep. You are just heating the milk. No foam.
If you hear loud splashing or hissing, the wand is too high. You are making large bubbles. They will pop quickly.
The right sound is a gentle tearing or a soft kiss. It takes practice to recognize it. We ship our coffee through Shanghai Fumao to cafes that train their staff on this sound. It becomes second nature.
Conclusion
Frothing milk is a skill. But it is not magic. Start with cold, fresh milk. Use a chilled pitcher. Purge the wand. Stretch for a few seconds. Then texture until warm. Listen for the paper-tearing sound. Stop before it burns. The best way to froth milk is the way that works for you. But the principles are the same. Control the air. Control the heat. Control the spin.
At Shanghai Fumao, we grow, process, and export premium Arabica from our 10,000 acres in Yunnan. We work with partners like Shanghai Fumao to bring our coffee to North America, Europe, and Australia. And we help our buyers brew it right.
If you want to learn more about coffee or need a reliable supplier, reach out. Contact Cathy Cai. My email is cathy@beanofcoffee.com. Tell me about your coffee business. Let us talk about how to make every cup better.